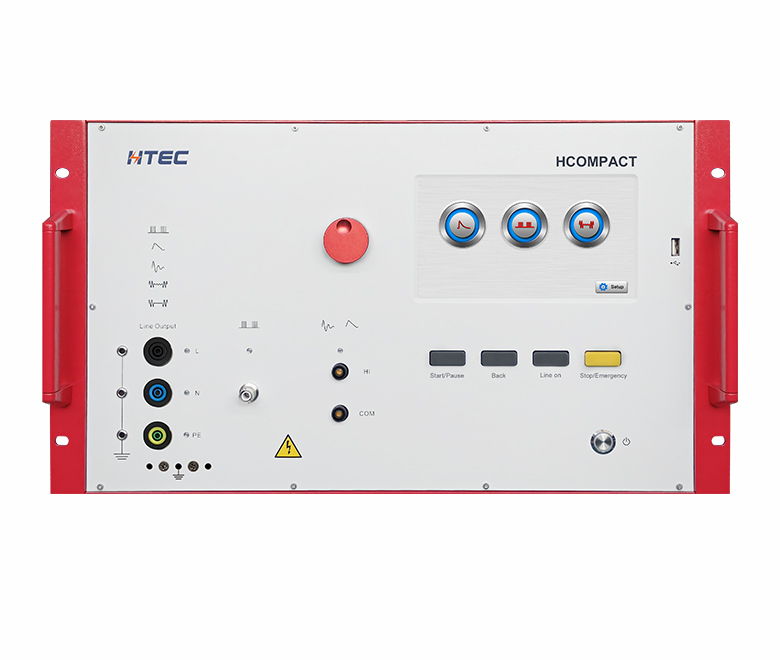
EMI testing is a key challenge in designing power banks
 Data:2022-09-07
 Click:3352


Data:2022-09-07
Click:3352
The key design test of mobile power supply design is that EMI electronic engineers often worry about the test EMI test failure. It would be a nightmare if the circuit EMI test failed several times. You must work day and night in the EMI laboratory to solve the problem and prevent the delay of product release. For consumer goods such as mobile power supply, the design cycle is short, and the EMI verification limit is strict. We want to add enough EMI filters to successfully complete the EMI test. But you don't want to increase space, nor do you want to increase too much cost at the circuit level, which seems difficult to have both.
TIdesign low radiation EMI transformer reference design (PMP9778) brings such a solution. It is applicable to 2.7-4.4V input voltage. 5V/3A.9V/2A and 12V/1.5A power. It is only applicable to mobile power application software. According to the layout and the upgraded TI design of the layout, the margin ratio can be obtained in the EN55022 and CISPR22B six-level radiation test. Let's look at the design process.
Identify important current channels
The high instantaneous rate of EMI from current transition (di/dt) cycle gradually increases. Therefore, we should distinguish the high di/dt critical path at the beginning of the design. It is important to master the current transmission path and signal flow in switching power supply.
Figure 1 shows the topology and critical current path of the transformer. When S2 is closed and S is opened, AC current flows through the blue loop. When S1 is closed and S2 is open, AC current flows through the green loop. Therefore, the current flows through the input capacitor Cin, the inductor L is a continuous current, the current flows through S2. S and the output capacitor Cout is a pulse current (red loop). Therefore, the red loop is defined as the critical current path. This method has the highest EMI kinetic energy. During layout, the area surrounded by it should be avoided as much as possible.

Figure 1. Critical current path of boost converter
Minimize high di/dt loop area
Figure 2 shows the TPS61088 pin configuration. Figure 3 shows an example of TPS61088 critical current path layout. NC pin indicates that there is no connection inside the device. Therefore, they can connect to PGND. From the electrical point of view, there are two NC pins connected to the PGND ground plane to facilitate heat removal and reduce the loop impedance. From the perspective of EMI, the two NC pins connected to PGND promote the VOUT and PGND planes of the ground plane TPS61088 closer to each other. This makes it easier to derive the layout of the capacitor. As can be seen from Figure 3, 06031-UF (or 04021-UF) high-frequency ceramic capacitor COUT_ HF as close as possible to VOUT pin will result in the minimum area of high di/dt loop.

Figure 2. TPS61088 pin configuration

Figure 3. Example of TPS61088 critical path layout
The height of di/di 10 meters from the ground plane can be calculated by the following formula:

Figure 4 shows using and not using COUT_ Radiation EMI conclusion of HF. EMI according to COUT_ HF improved by 4dBuV/m.
(Figure 4. Radiation EMI conclusion with/without COUT_HF)
Place a grounding plane under the critical path
Due to the positive correlation between magnetic field strength and inductance, the fixed grounding plane is placed on the next layer of critical tracking.
Table 1 Tracking inductance in different PCB boards. You can see that the tracking inductance of a 0.4mm four-layer PCB with insulation thickness between the signal layer and the ground plane is much smaller than that of a 1.2mm 2-layer PCB. Therefore, one of the most effective ways to reduce EMI is to place the critical path of the fixed grounding plane with the minimum spacing.
Table 1. Tracking inductance (wiring length)=5cm)
PCBh (mm) Wg (mm) L (nH) single-sided PCB-522 layer PCB1.2103.64 layer PCB0.4101.2
Figure 5 shows the radiation EMI conclusion of 2-layer PCB and 4-layer PCB. Radiation is based on the same layout and the same test conditions EMI can be improved by 10dBuV/m according to the 4-layer PCB.

Figure 5. Radiated EMI results of a 2-layer PCB and a 4-layer PCB
Add RC buffer
If the radiation level still exceeds the specified level and the layout cannot be improved, adding a pin RC buffer and power grounding to TPS61088SW will help reduce the radiation EMI level. RC buffer shall be placed at the limit switch node and power grounding position (Figure 6). It can effectively suppress its SW voltage loop, which means that the radiated EMI test is improved in the ringing frequency environment.

Figure 6. Layout of RC buffer
Through the above simple and effective optimization methods, good EMI performance becomes possible in mobile power design.